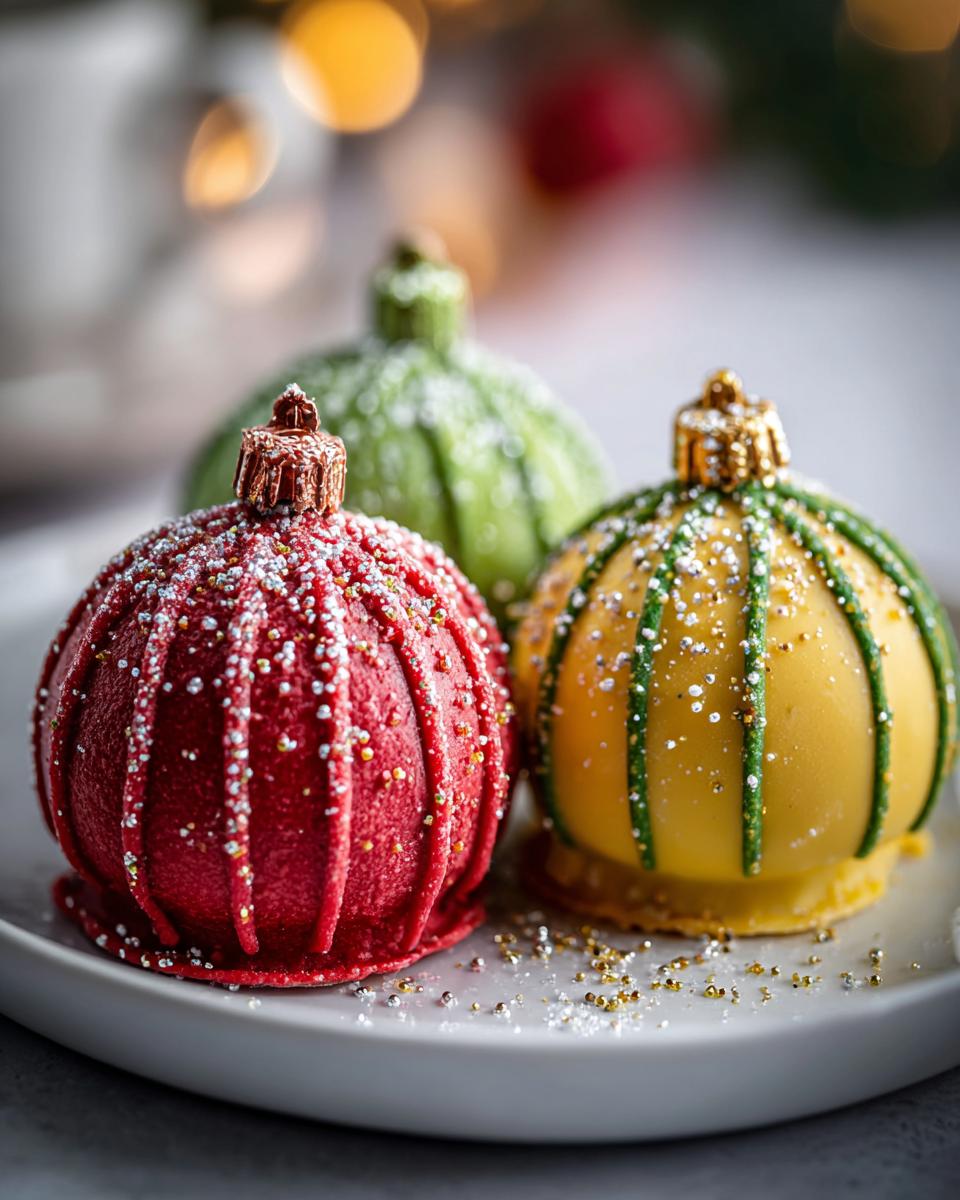
Oh, the holidays! It’s that magical time of year when sparkly decorations and sweet treats are *everywhere*, right? These Holiday Ornament Oreo Truffles are one of my absolute favorites to whip up. Seriously, they’re so simple, no baking required at all, and they look like the cutest little ornaments you ever did see! I remember making a giant batch one year for our neighborhood cookie exchange, and they were gone *so* fast. Everyone kept asking if I bought them, which is always the best compliment!
Why You’ll Love These Holiday Ornament Oreo Truffles
These little guys are seriously the best for so many reasons! First off, they are ridiculously easy to whip up. You don’t even need to turn on your oven, which is a lifesaver during the busy holiday season. Plus, they look absolutely adorable, just like colorful ornaments ready for the tree! And let’s be honest, they taste amazing – a creamy, chocolatey dream that everyone, from kids to grown-ups, just devours.
- So easy, anyone can make them!
- No baking needed – seriously, it’s a no-fuss dessert.
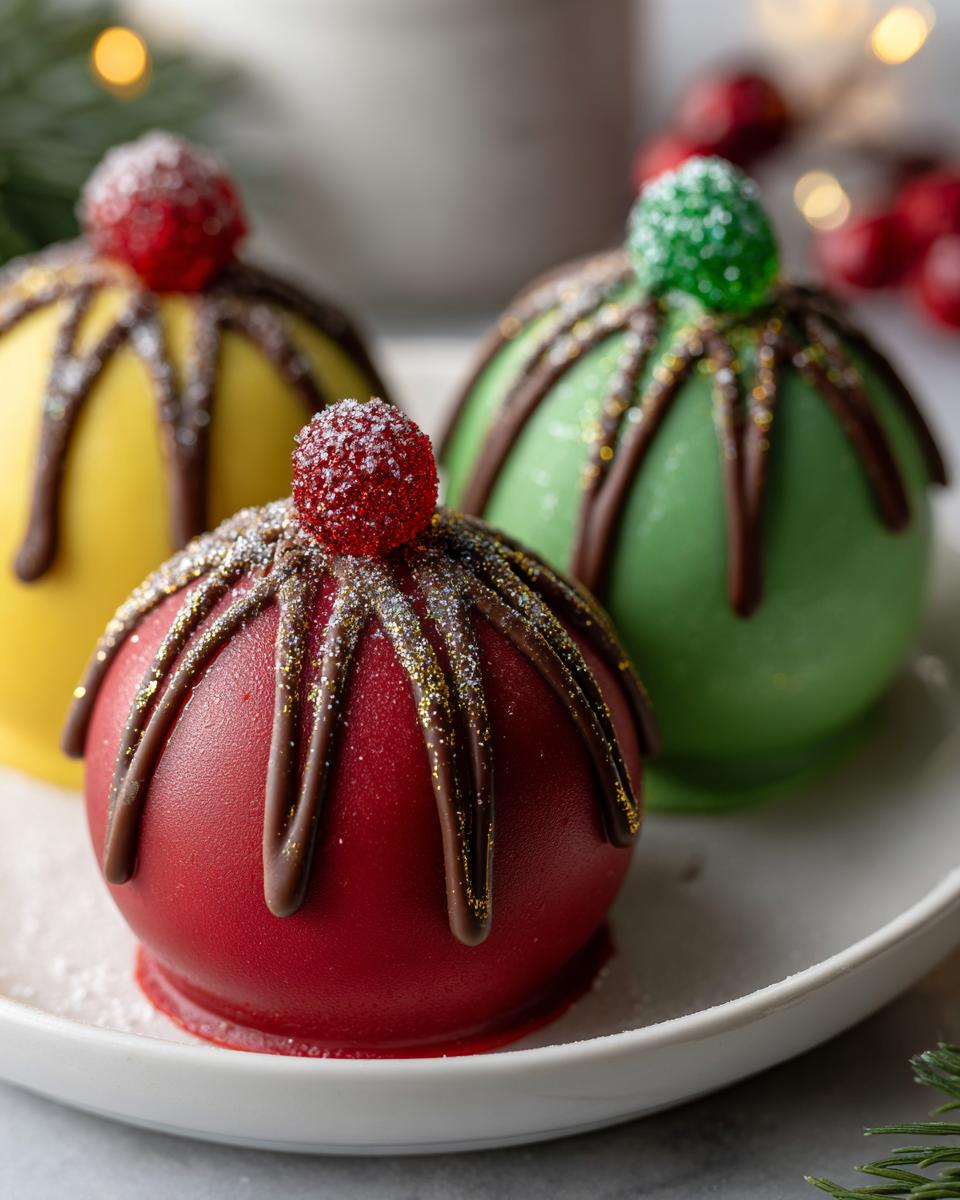
- They look super festive and fun.
- Always a huge hit with everyone!
Ingredients for Your Holiday Ornament Oreo Truffles
Okay, so for these little gems, you don’t need anything too fancy, which is the best part! You’ll want about 24 regular Oreo cookies – trust me, the regular ones work way better than those super-stuffed ones for this. Then, you’ll need 8 ounces of cream cheese, make sure it’s nice and soft so it mixes in easily. For the ‘paint,’ you’ll need 12 ounces of white chocolate, chopped up into little pieces is easiest. And for all those fun ornament colors? Grab some red, green, and yellow food coloring! If you’re feeling extra fancy, some edible glitter or cute sprinkles are always welcome.
Essential Equipment for Making Holiday Ornament Oreo Truffles
You know, the right tools can make all the difference when you’re whipping up these festive treats. You’ll definitely want a food processor or a sturdy zip-top bag and a rolling pin to get those Oreos nice and crumbly. A good mixing bowl is a must for combining the crumbs and cream cheese. Grab a baking sheet – I like to line mine with parchment paper because it makes cleanup a breeze and the truffles won’t stick. You’ll also need a few small bowls for tinting your chocolate, and a fork or toothpick for drawing those sweet little ornament caps. Oh, and don’t forget a microwave-safe bowl for melting that chocolate!
Step-by-Step Guide to Crafting Holiday Ornament Oreo Truffles
Alright, let’s get making these fun little guys! It’s really straightforward, and honestly, a little messy is part of the fun. Your kitchen might get a little festive with cookie crumbs and chocolate streaks, but trust me, it’s totally worth it!
Preparing the Oreo Base
First things first, we need to get those Oreos into tiny crumbs. I usually just toss the whole cookies into my food processor and give ’em a whirl until they’re super fine, like sand. Or, if you don’t have one, just pop ’em in a sturdy zip-top bag and go at ’em with a rolling pin! Once they’re all crumbly, dump them into a bowl with your softened cream cheese. Now, get your hands in there (or use a sturdy spoon!) and mix it all up until it forms a nice, dough-like consistency. It should all come together really well.
Chilling and Shaping the Truffles
Now for the fun part – rolling! Grab about a tablespoon of that Oreo mixture and roll it between your palms to form little balls, about an inch big. Think mini snowball size! As you make them, place them on a baking sheet that you’ve lined with parchment paper. This stops them from sticking, which is super helpful. Once they’re all rolled, pop that whole sheet into the fridge for at least 30 minutes. This makes them firmer and much easier to dip.
Melting and Tinting the Chocolate
While those little guys are chilling, let’s get our ‘paint’ ready! Put your chopped white chocolate in a microwave-safe bowl. Heat it in the microwave in 30-second bursts, stirring really well after each one. You don’t want it to burn, so be patient! Keep going until it’s all smooth and melty. Once it’s perfect, divide it evenly into three smaller bowls. Now, add a little squeeze of red food coloring to one, green to another, and yellow to the third. Stir each one really well until you get those beautiful, bright colors. If you’d rather, candy melts work just as well here!
Decorating Your Holiday Ornament Oreo Truffles
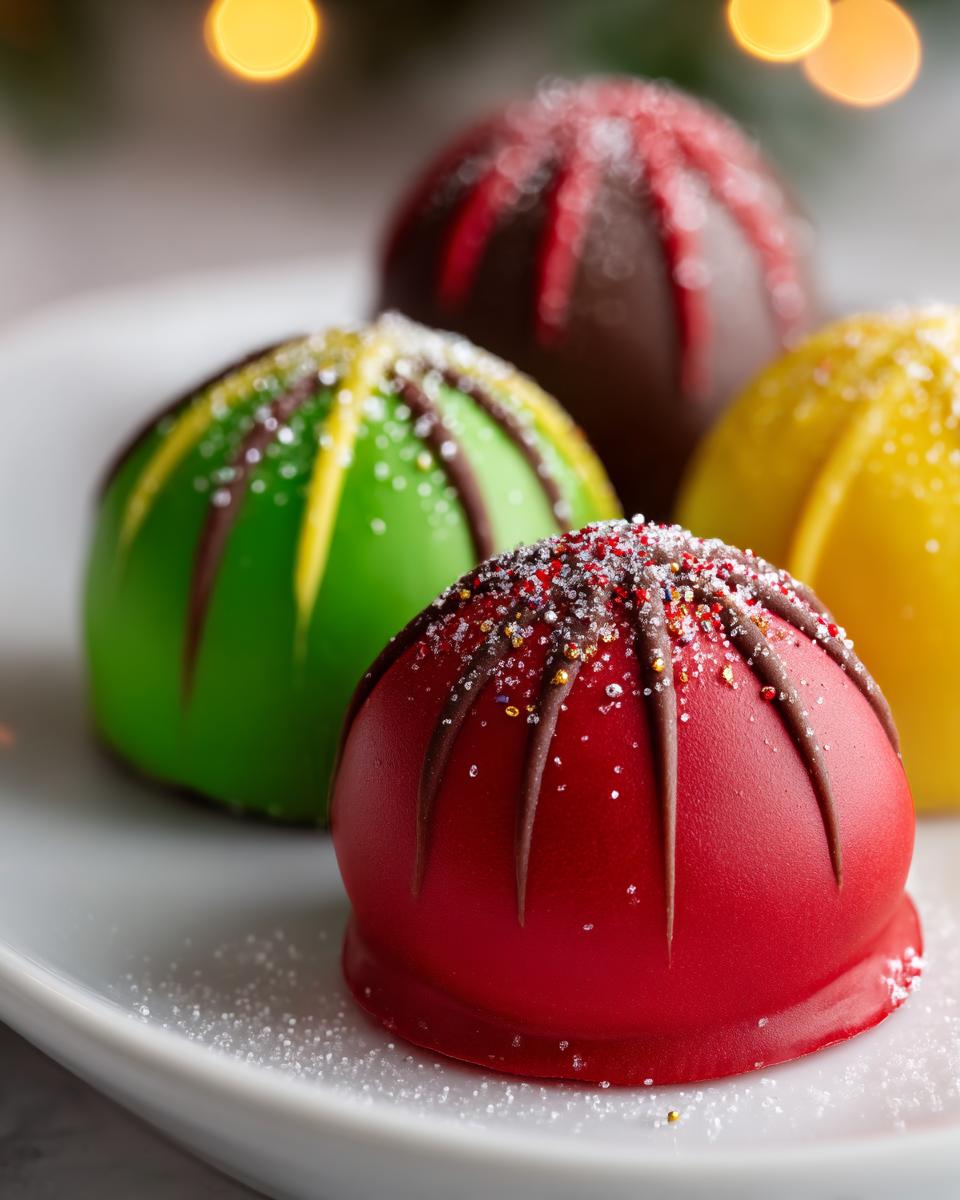
Okay, grab your chilled Oreo balls and your colorful chocolate! Now, dip each ball into one of the colored chocolates, making sure it’s totally coated. You can use a fork or even just a toothpick for this. Let any extra chocolate drip off, then carefully place the coated truffle back onto your parchment-lined baking sheet. To make them look like real ornaments, take a clean toothpick and carefully draw a little line at the very top of each truffle to make a little cap. If you have edible glitter or some cute little sprinkles, now’s the time to add them before the chocolate sets! How fun is that? We even have a tutorial for custom photo ornaments if you’re looking for more crafty ideas this season!
Tips for Perfect Holiday Ornament Oreo Truffles
Alright, let’s talk about a few little tricks I’ve picked up over the years to make these Holiday Ornament Oreo Truffles absolutely perfect every single time. It’s honestly not complicated, but a couple of key things really make a difference. My biggest tip? Pay attention to your ingredients and how you handle the chocolate – it’s the difference between a cute treat and an OMG-I-need-to-make-these-again treat!
Ingredient Quality Matters
Okay, so this is a big one! For these truffles, please, please use the regular Oreo cookies. I know those Double Stuf ones are tempting, but they have a lot more filling, and it can make the mixture too soft and sticky to roll properly. Trust me on this one – the standard Oreos give you that perfect, moldable base. And make sure your cream cheese is truly softened; it makes mixing so much easier and smoother!
Achieving Smooth Chocolate Coating
Melting white chocolate can be a little finicky, can’t it? The key is to go low and slow in the microwave. Don’t just blast it on high! Stir it really well between each 30-second interval. If it seems a bit thick, you can add a tiny teaspoon of coconut oil or vegetable oil to help thin it out, but only a little bit! You want it smooth enough to coat the truffles easily, but not so thin that it just drips right off. Patience is your best friend here!
Variations and Creative Ideas for Your Holiday Ornament Oreo Truffles
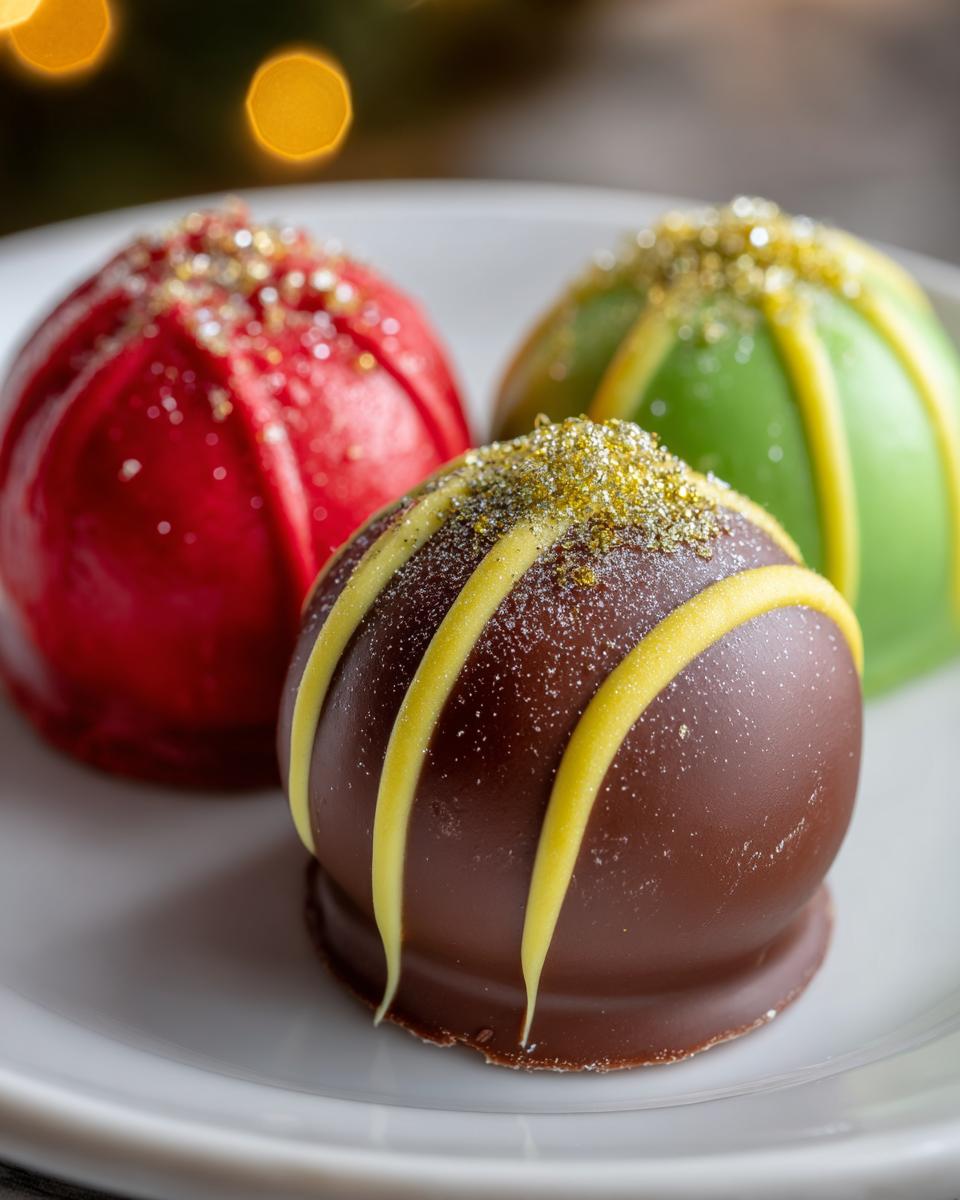
You know, while the classic ornament look is super cute, there are tons of fun ways to jazz up these Holiday Ornament Oreo Truffles even more! If you’re not a fan of white chocolate, try using milk or dark chocolate for dipping – the contrast is delicious. You could also stir in a little peppermint extract into the Oreo mixture for a festive flavor boost. And don’t feel limited to red, green, and yellow! Think blues and purples, or even gold and silver for a touch of elegance. Maybe layer the colors slightly or use a marbling technique. For more easy holiday baking fun, check out my easy 3-ingredient Christmas cookies or these yummy cinnamon sugar Christmas cookies!
Storing and Serving Your Festive Treats
These little Holiday Ornament Oreo Truffles are pretty sturdy, but for the best texture, I always store mine properly. Pop them into an airtight container – a good plastic one or even a cute holiday tin works great. Keep them in the refrigerator, especially if it’s warm where you are. That keeps the chocolate coating nice and firm. They’re perfect served all by themselves, of course, but they also look amazing alongside a giant mug of hot chocolate (check out my hot chocolate bar setup and creamy slow cooker version if you need ideas!). They make a really pretty plate if you’re bringing them to a party, too!
Frequently Asked Questions About Holiday Ornament Oreo Truffles
Got questions about these festive delights? I’ve got answers!
Can I use different types of Oreos for these truffles?
It’s best to stick with the regular Oreo cookies for these. The extra filling in Double Stuf Oreos can make the truffle mixture too soft, which makes rolling and dipping a bit messy.
How do I get the ornament cap detail?
It’s super simple! Once you’ve dipped your truffle in chocolate, just use a clean toothpick to draw a little line right at the top where the chocolate meets the truffle. It gives it that perfect little ornament cap look in seconds!
Can these be made ahead of time?
Absolutely! That’s one of the best things about them. You can make these Holiday Ornament Oreo Truffles a few days in advance and store them in an airtight container in the refrigerator. They’re perfect for making your holiday baking schedule easier.
Estimated Nutritional Information
Now, just a quick note on the nutrition info: these numbers are estimates, okay? They can really change depending on the exact brands of Oreos or chocolate you use, and how big you roll your little ornaments. But generally, you’re looking at about 150 calories, 9g of fat (with about 5g being saturated), 2g of protein, 17g of carbs, and around 15g of sugar per truffle. It’s a sweet little treat for your holiday celebrations!
Share Your Festive Creations!
I just LOVE seeing your own creations! Have you made these Holiday Ornament Oreo Truffles? Did you try any fun new colors or sprinkles? Please tell me all about it in the comments below, or even better, share photos with me! It makes my day to see your baking adventures. For more holiday fun, check out these family matching pajama photo ideas and these cute handmade gift tags!
Print
Holiday Ornament Oreo Truffles
- Total Time: 30 min
- Yield: 24 truffles
- Diet: Vegetarian
Description
Easy no-bake Oreo truffles shaped like festive holiday ornaments.
Ingredients
- 24 Oreo cookies
- 8 ounces cream cheese, softened
- 12 ounces white chocolate, chopped
- Red food coloring
- Green food coloring
- Yellow food coloring
- Edible glitter or sprinkles (optional)
Instructions
- Crush Oreo cookies into fine crumbs.
- In a bowl, mix Oreo crumbs with softened cream cheese until well combined.
- Roll the mixture into 1-inch balls. Place on a baking sheet lined with parchment paper.
- Chill the balls in the refrigerator for at least 30 minutes.
- Melt white chocolate in a microwave-safe bowl in 30-second intervals, stirring between each, until smooth.
- Divide melted white chocolate into three small bowls.
- Tint one bowl red, one green, and one yellow using food coloring.
- Dip each chilled Oreo ball into a colored melted chocolate, coating completely.
- Place coated balls back on the parchment-lined baking sheet.
- Use a toothpick to draw a small line at the top of each truffle to resemble an ornament cap.
- If desired, add edible glitter or sprinkles before the chocolate sets.
- Allow the truffles to set completely at room temperature or in the refrigerator.
Notes
- For best results, use regular Oreo cookies, not Double Stuf.
- You can also use candy melts instead of white chocolate.
- Store truffles in an airtight container in the refrigerator.
- Prep Time: 30 min
- Cook Time: 0 min
- Category: Dessert
- Method: No-Bake
- Cuisine: American