

Oh, don’t you just love that feeling when you decide to bake something special? For me, it’s like a little escape from everything. And when I’m craving something that’s both sweet and a little bit zingy, my go-to has to be these delightful White Chocolate Raspberry Thumbprint Cookies. Seriously, the way that creamy white chocolate melts and then gets that little surprise of tart raspberry in the middle? It’s pure magic. I remember making these on a rainy afternoon, and the whole house smelled amazing – it’s just one of those recipes that instantly brings a smile to your face, and they disappear so fast!
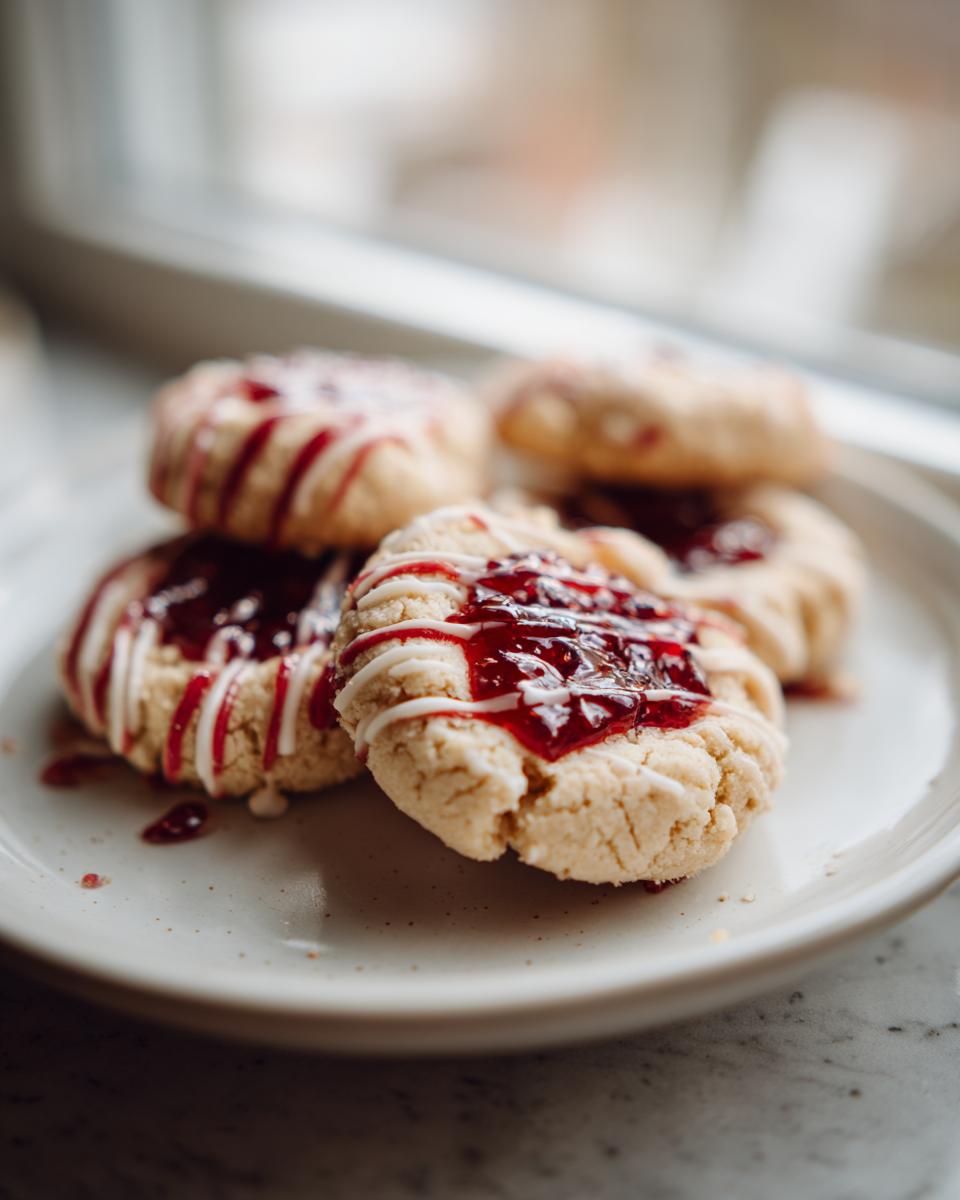
Why You’ll Love These White Chocolate Raspberry Thumbprint Cookies
Seriously, these cookies are a total winner! They’re:
- Super Easy to Make: Even if you’re new to baking, you can totally whip these up. No fancy skills needed!
- The PERFECT Flavor Combo: That creamy white chocolate and tangy raspberry are just a match made in heaven. It’s sweet, but not *too* sweet.
- Great for ANY Occasion: Whether it’s a holiday cookie platter, a bake sale, or just a Tuesday treat, these always impress.
- So Pretty! That white chocolate drizzle makes them look like little works of art.
Gather Your Ingredients for White Chocolate Raspberry Thumbprint Cookies
Alright, let’s get our baking station ready! To make these dreamy White Chocolate Raspberry Thumbprint Cookies, you’ll want to pull together these goodies. Trust me, having everything prepped makes the whole process so much smoother.
- 1 cup (2 sticks) unsalted butter, softened: Make sure it’s nice and soft, not melted! This is key for that creamy texture.
- 1/2 cup granulated sugar: For that classic sweet cookie base.
- 1/4 cup powdered sugar: This helps make the cookies extra tender and melt-in-your-mouth.
- 1 large egg: Just one, to bind everything together.
- 1 teaspoon vanilla extract: Don’t skip this! It adds that lovely background flavor that makes everything pop.
- 2 1/4 cups all-purpose flour: The backbone of our cookie!
- 1/2 teaspoon salt: To balance all that sweetness.
- 1/2 cup raspberry jam: Use a good quality one that isn’t too runny. This is our tart little surprise!
- 4 ounces white chocolate, chopped: You can use white chocolate chips or a chopped-up bar. I find chopping a bar gives a nicer melt and drizzle, but chips are totally fine too!
Oh, and a little tip: have your jam ready to go and your white chocolate chopped before you even start mixing the dough. It just makes life easier!
Crafting Perfect White Chocolate Raspberry Thumbprint Cookies: Step-by-Step
Alright, let’s get our hands a little floury and make some magic! Making these White Chocolate Raspberry Thumbprint Cookies is a really fun process, and I promise, it’s totally doable. Just follow along, and you’ll have a batch of pure deliciousness in no time. If you’re looking for other easy cookie ideas, check out these easy 3-ingredient Christmas cookies – they’re a lifesaver!
Preparing the Cookie Dough Base
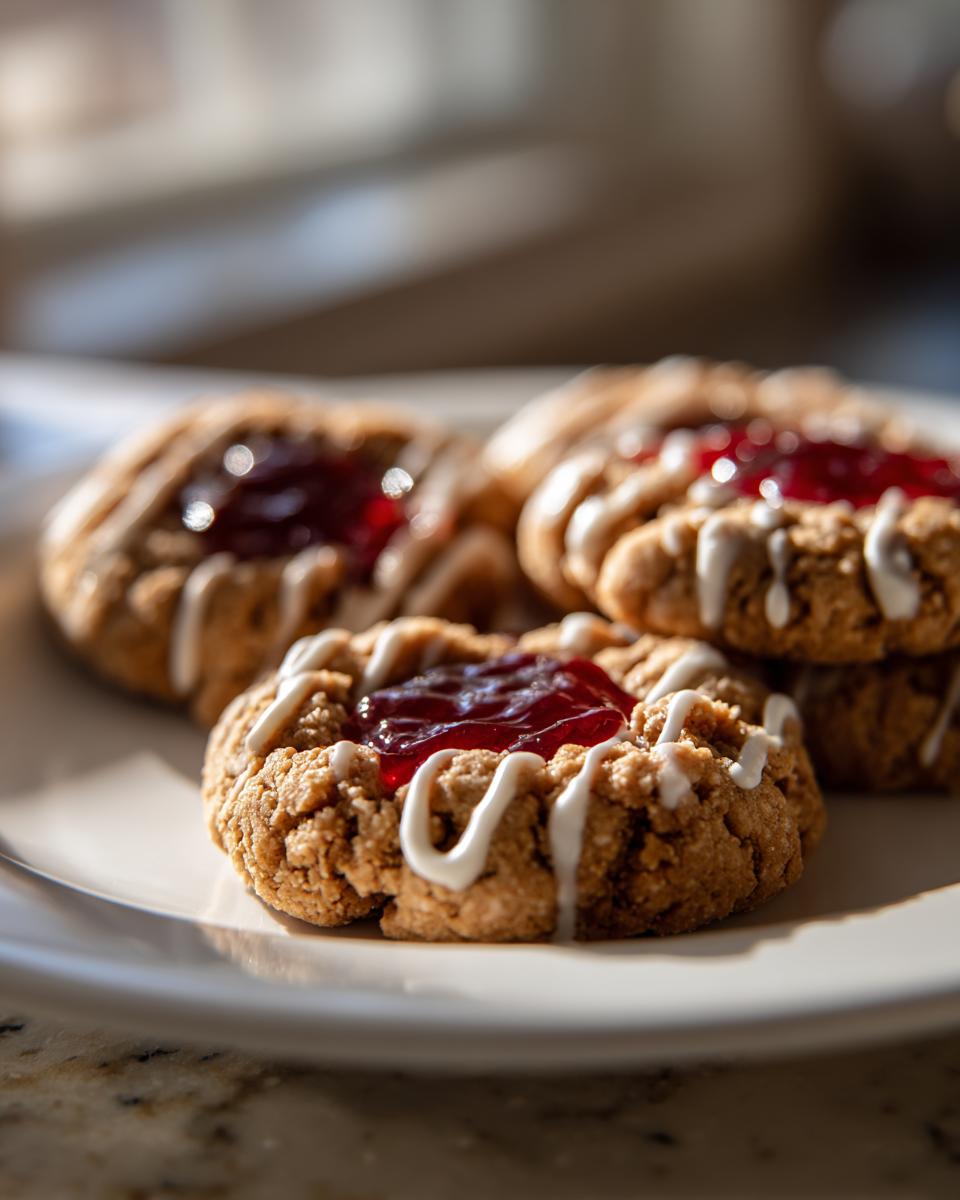
First things first, we need to get our cookie dough ready. In a big bowl (or your stand mixer bowl if you have one!), cream together that softened butter, granulated sugar, and the powdered sugar. You want to beat it until it’s all light and fluffy – think pale yellow and airy! Then, in goes your egg and that splash of vanilla. Give that another good mix before we add the dry stuff. In a separate bowl, just whisk your flour and salt together real quick. Now, slowly add those dry ingredients to the butter mixture, mixing just until everything comes together. Don’t overmix it, or your cookies can get tough!
Shaping and Filling Your White Chocolate Raspberry Thumbprint Cookies
Once the dough is all mixed, pop it in the fridge for about 30 minutes. This helps it firm up so it’s easier to handle. While it’s chilling, go ahead and preheat your oven to 350°F (175°C) and line a couple of baking sheets with parchment paper – this is our little secret for easy cleanup and no sticking! Now, take that chilled dough and roll it into little balls, about 1-inch in size. Place them on your prepared sheets, leaving a little space between them. Then, use your thumb (I like to gently press!) or the end of a wooden spoon to make a nice little indent in the center of each one. Spoon about a teaspoon of that yummy raspberry jam into each little well. Don’t overfill them, or it’ll bubble over!
Baking and Cooling for Optimal Texture
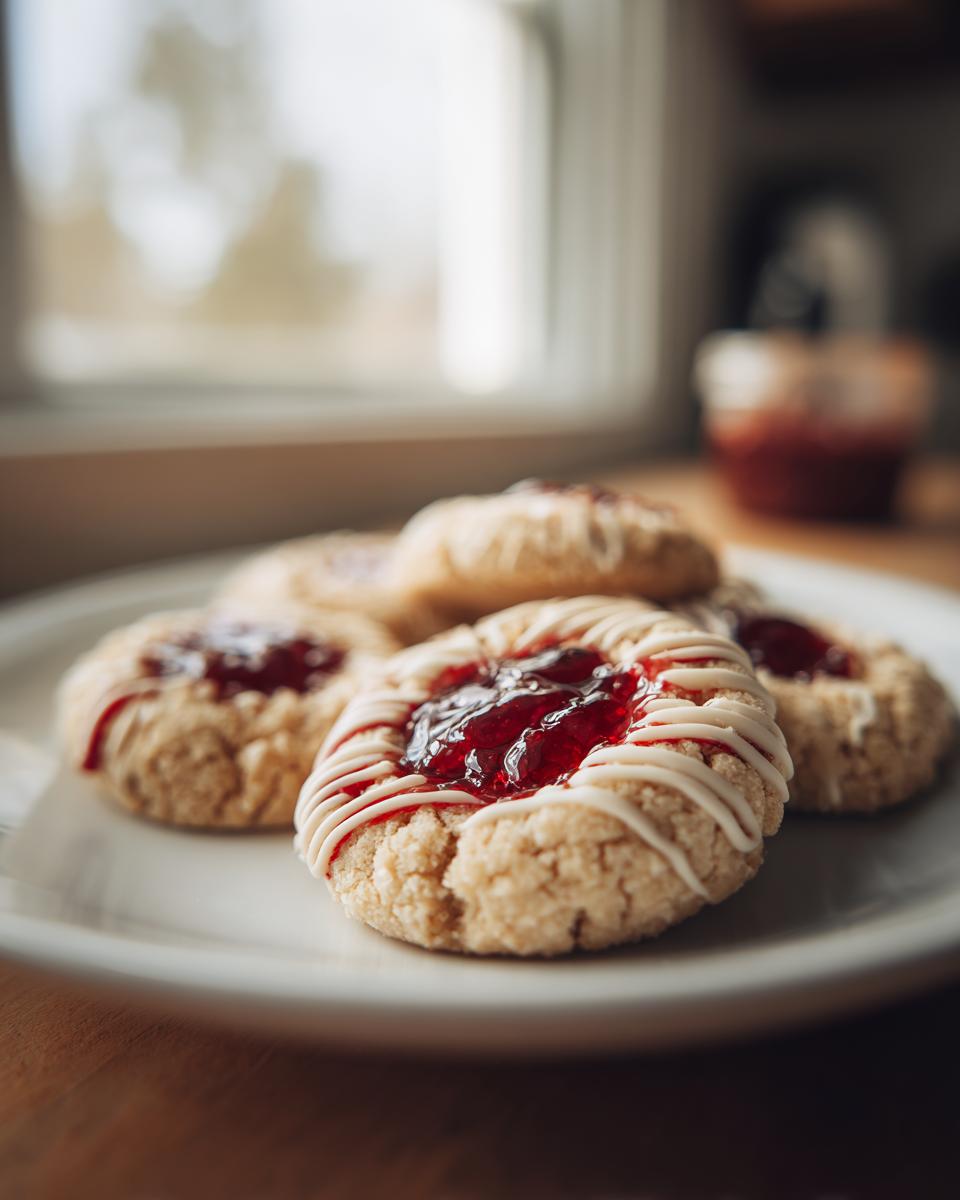
Pop those beauties into the oven for about 12-15 minutes. You’re looking for the edges to be just lightly golden. They’ll still look a little soft in the middle, and that’s okay! Let them hang out on the baking sheets for a few minutes after they come out – this is important so they don’t crumble when you move them. Then, carefully transfer them to a wire rack to cool completely. Patience, my friends, is key here! Trying to drizzle chocolate on warm cookies is a melty mess you don’t want.
The Finishing Touch: White Chocolate Drizzle
This is where our cookies get that extra special sparkle! Once they are totally cool, it’s time for the white chocolate. Put your chopped white chocolate in a microwave-safe bowl. Zap it in the microwave for 30 seconds, stir, then another 30 seconds, stir again. Keep going in short bursts, stirring each time, until it’s all smooth and luscious. If it seems a little thick, you can add just a tiny teaspoon of vegetable oil – it works wonders for getting a nice, smooth drizzle. Now, grab a spoon or a piping bag (if you’re feeling fancy!) and drizzle that gorgeous white chocolate all over your cooled cookies. Let the chocolate set up completely before you dare to take a bite!
Tips for Success with White Chocolate Raspberry Thumbprint Cookies
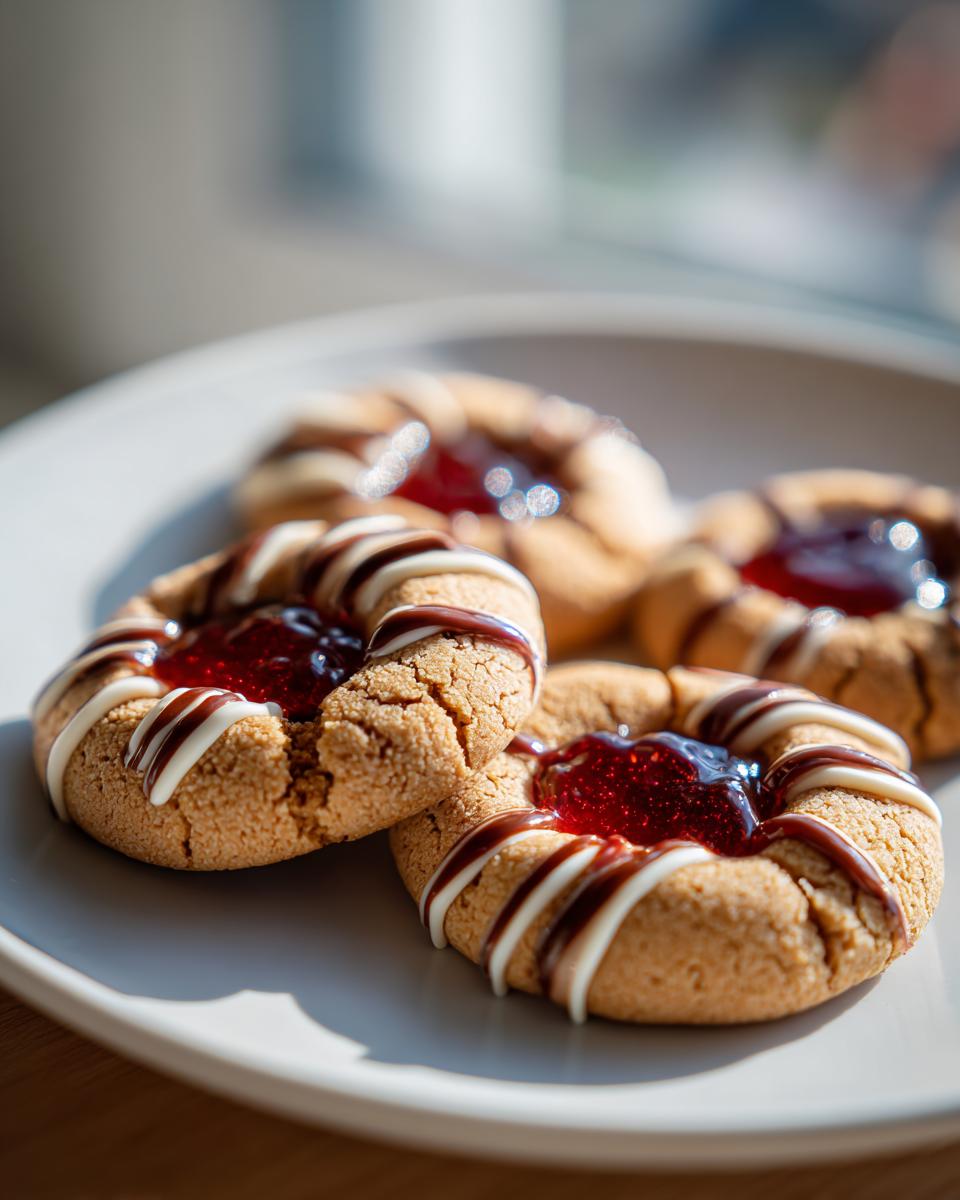
Okay, so you’ve got the recipe, but here are some of my favorite little tricks to make these White Chocolate Raspberry Thumbprint Cookies absolutely perfect every single time. First off, don’t rush the chilling step for the dough; warmer dough spreads way too much and you won’t get those cute little indentations! Also, when you’re filling the wells with jam, try not to let it go all the way to the edge. A little bit of dough peeking through looks so much prettier after baking. And for that drizzle? If you’re finding your white chocolate is still a bit thick even after melting, a whisper of vegetable oil really does make it silky smooth and easier to work with. Oh, and for an extra pop of flavor, sometimes I’ll even mix a tiny bit of lemon zest into the dough – it just brightens everything up!
Ingredient Notes and Substitutions
Let’s talk a little more about some of these ingredients you’ll be using for your White Chocolate Raspberry Thumbprint Cookies. For the jam, feel free to swap that raspberry for strawberry, apricot, or even a nice tart cherry jam – whatever your heart desires! Just make sure it’s not too watery. And for the white chocolate? While chopped bar chocolate melts beautifully, good quality white chocolate chips work just fine too. If you want to make these dairy-free, you can try using a dairy-free butter substitute and dairy-free white chocolate chips, though they might spread a little more.
Storage and Reheating Instructions
Once these White Chocolate Raspberry Thumbprint Cookies have completely cooled and the white chocolate is set, pop them into an airtight container. They’ll stay fresh and delicious at room temperature for about 5 days. I usually just grab one or two straight from the container whenever a craving hits! Honestly, they’re rarely reheated because they’re pretty perfect at room temp, but if you wanted to warm one up slightly, just a few seconds in the microwave should do the trick!
Frequently Asked Questions About White Chocolate Raspberry Thumbprint Cookies
Got questions about whipping up these delicious cookies? I’ve got you covered! Making perfect White Chocolate Raspberry Thumbprint Cookies is totally achievable, and here are answers to some common things folks wonder about. If you’re looking for more sweet treats, you should definitely check out my dessert recipes!
Can I use a different type of jam for these thumbprint cookies?
Absolutely! While raspberry is the star here, don’t be afraid to get creative. Strawberry, apricot, cherry, or even a nice blueberry jam works beautifully. Just make sure your jam isn’t too watery, or it might run out of the cookie while baking. A thicker, more concentrated jam is usually best!
Why did my White Chocolate Raspberry Thumbprint Cookies spread too much?
Oh, cookie spread is a common baking puzzle! Usually, it happens if the butter was too soft or melted when you started mixing, or if the dough wasn’t chilled long enough. Make sure your butter is just softened (you can press your finger into it and leave an indent, but it shouldn’t be greasy). Chilling the dough for the full 30 minutes really helps prevent them from spreading too much.
How do I get a clean white chocolate drizzle?
Melting white chocolate can be a little tricky sometimes! The key is to melt it slowly and gently, usually in short bursts in the microwave, stirring well between each one. If it still seems a bit stiff, adding just a teaspoon of vegetable oil or a tiny bit of coconut oil can really help smooth it out for that perfect, clean drizzle over your cooled cookies. Don’t rush it!
Estimated Nutritional Information
Just so you know, the nutritional info for these White Chocolate Raspberry Thumbprint Cookies is an estimate, of course! Depending on the brands of ingredients you use and how big you make your cookies, the numbers can shift a bit. But generally, you’re looking at around 180 calories, 10g of fat, and about 20g of carbs per cookie. Pretty reasonable for such a delicious treat, right?
Share Your Creations!
Alright, bakers, I can’t WAIT to see your beautiful White Chocolate Raspberry Thumbprint Cookies! Did you try any fun variations? Snap a pic and tag me, or just leave a comment below telling me how they turned out. I love hearing from you all and seeing your amazing baking adventures! You can also reach out to me through my contact page if you have any specific questions!
Print
White Chocolate Raspberry Thumbprint Cookies
- Total Time: 40 min
- Yield: 24 cookies
- Diet: Vegetarian
Description
Sweet and tart thumbprint cookies with a white chocolate drizzle.
Ingredients
- 1 cup unsalted butter, softened
- 1/2 cup granulated sugar
- 1/4 cup powdered sugar
- 1 large egg
- 1 teaspoon vanilla extract
- 2 1/4 cups all-purpose flour
- 1/2 teaspoon salt
- 1/2 cup raspberry jam
- 4 ounces white chocolate, chopped
Instructions
- Cream together the softened butter, granulated sugar, and powdered sugar until light and fluffy.
- Beat in the egg and vanilla extract.
- In a separate bowl, whisk together the flour and salt.
- Gradually add the dry ingredients to the wet ingredients, mixing until just combined.
- Chill the dough for 30 minutes.
- Preheat your oven to 350°F (175°C). Line baking sheets with parchment paper.
- Roll the dough into 1-inch balls and place them on the prepared baking sheets.
- Use your thumb or the back of a small spoon to create an indentation in the center of each cookie.
- Fill each indentation with about 1 teaspoon of raspberry jam.
- Bake for 12-15 minutes, or until the edges are lightly golden.
- Let the cookies cool on the baking sheets for a few minutes before transferring them to a wire rack to cool completely.
- Melt the chopped white chocolate in a microwave-safe bowl in 30-second intervals, stirring between each, until smooth.
- Drizzle the melted white chocolate over the cooled cookies.
- Allow the white chocolate to set before serving.
Notes
- For a smoother drizzle, you can add a teaspoon of vegetable oil to the melted white chocolate.
- Store cookies in an airtight container at room temperature for up to 5 days.
- Prep Time: 25 min
- Cook Time: 15 min
- Category: Dessert
- Method: Baking
- Cuisine: American