
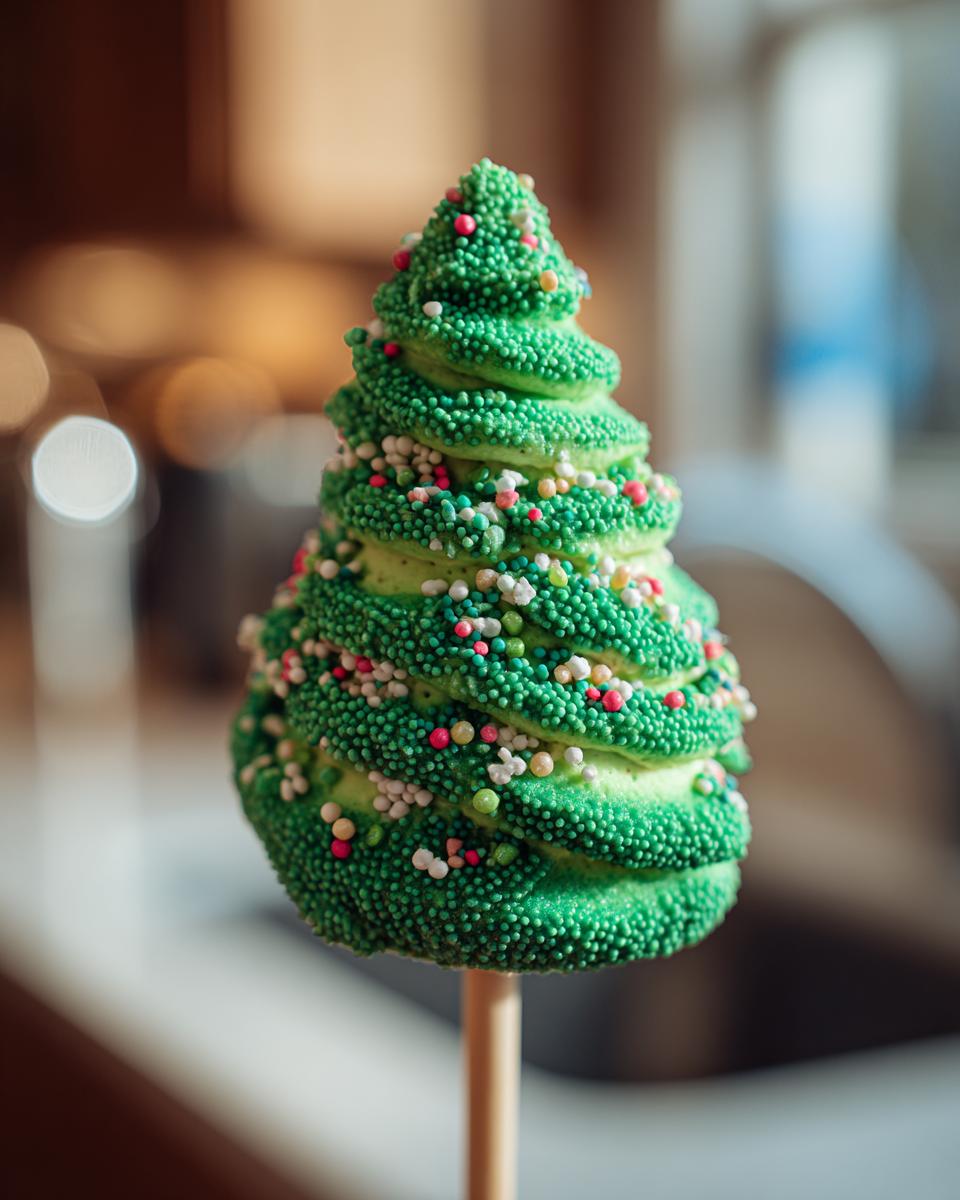
The moment the air gets crisp and the first carol serenade fills the house, I know it’s officially time to get baking for the holidays! And you know what’s always a showstopper on my Christmas cookie platter? My dazzling Christmas Tree Meringue Pops! They’re just SO light and airy, like little clouds of sweet Christmas magic. Honestly, they practically disappear the second they’re out. I remember making these for the first time a few years back, and my little nieces and nephews were absolutely mesmerized. They looked so pretty on the tree, too! It’s such a fun way to bring a little extra sparkle to our family gatherings.
Why You’ll Love These Christmas Tree Meringue Pops
These little guys are just the best for so many reasons:
- They’re surprisingly easy to whip up, even if you’re new to meringues!
- Seriously, they look SO fancy and festive, perfect for decorating your holiday table.
- Everyone loves their light, melt-in-your-mouth sweetness – pure holiday joy!
- They’re naturally gluten-free, so more people can enjoy them.
- They store like a dream, meaning you can make them ahead of time for less holiday stress.
- Plus, they’re just downright adorable. Who wouldn’t smile at a tiny meringue Christmas tree?
Ingredients for Your Christmas Tree Meringue Pops
Alright, let’s get down to business with what you’ll need for these cute little trees! Trust me, it’s not much, and you probably have most of it hiding in your pantry already:
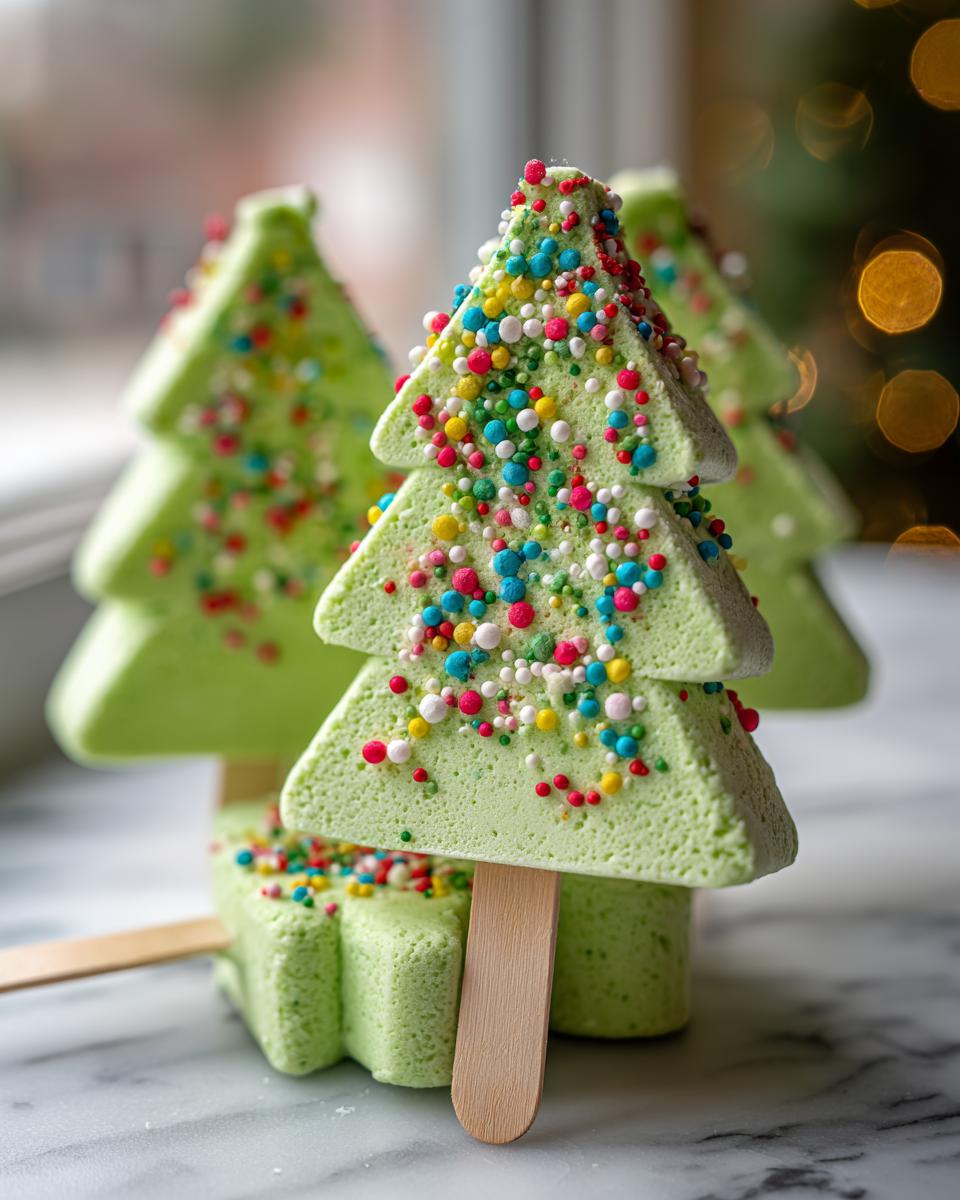
- 4 large egg whites (make sure they’re at room temperature – it makes a world of difference!)
- 1 cup granulated sugar (don’t skimp here, it’s what gives them that lovely sweetness and structure)
- 1/2 teaspoon cream of tartar (this is your secret weapon for stable meringue!)
- 1/2 teaspoon vanilla extract (just a touch for that classic, cozy flavor)
- Green food coloring (gel works best for vibrant color without adding too much liquid)
- Red and green sprinkles (because what’s a Christmas tree without decorations, right?)
Oh, and super important tip from me: make SURE your mixing bowl and beaters are perfectly clean and dry. Seriously, not even a tiny speck of grease or water. It’s the one thing that can make your meringues go from fluffy clouds to sad puddles. Trust me on this one!
Essential Equipment for Making Christmas Tree Meringue Pops
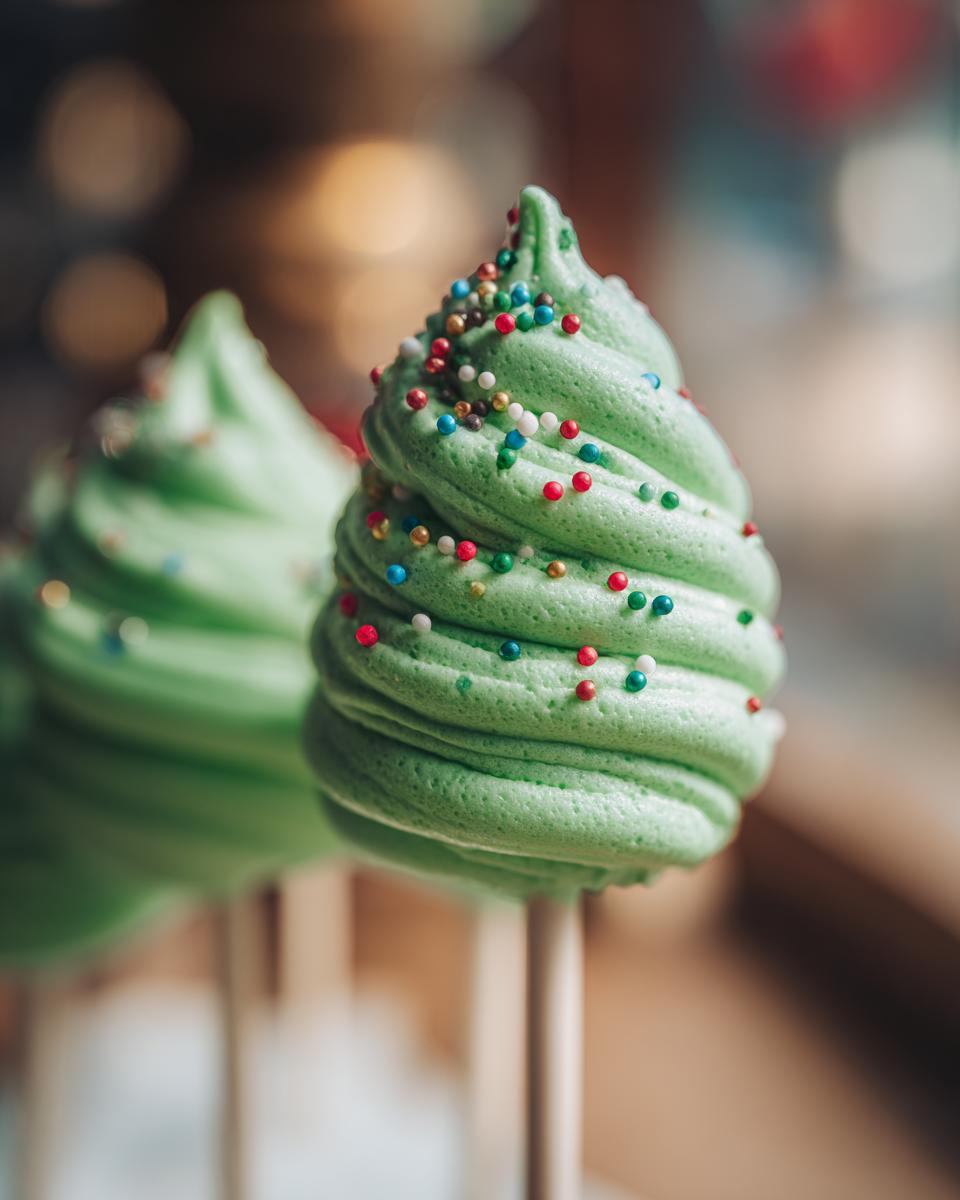
Okay, so you don’t need a fancy professional kitchen for these, but having the right tools makes all the difference! You’ll definitely want an electric mixer – either a hand mixer or a stand mixer works great for getting those egg whites just perfect. Grab yourself a couple of clean mixing bowls (one for the white meringue, one for the green!). Piping bags are key for making those adorable tree shapes, and don’t forget about parchment paper and a trusty baking sheet. That’s pretty much it – simple stuff!
Step-by-Step Guide to Perfect Christmas Tree Meringue Pops
Alright, let’s get these adorable Christmas Tree Meringue Pops made! It’s really quite simple when you break it down. Just follow these steps, and you’ll have a batch of fluffy, festive treats in no time. You can even pop some DIY salt dough ornaments on the tree while you wait for these to bake!
Preparing Your Meringue Base
First things first, grab your clean, grease-free bowl and your electric mixer. Add those room-temperature egg whites and beat them until they get nice and foamy. Now, add in that cream of tartar – it’s like a little helper that makes your meringue sturdy! Keep beating, and you’ll start to see soft peaks forming. Then, slowly, and I mean *slowly*, add your granulated sugar, a tablespoon at a time, while the mixer is still going. Beat it until you’ve got stiff, glossy peaks that stand straight up when you lift the beater. Don’t forget to stir in that vanilla extract!
Coloring and Shaping Your Christmas Tree Meringue Pops
Now for the fun decorating part! Divide your beautiful, stiff meringue into two bowls. Leave one plain white, and to the other, add a few drops of that vibrant green food coloring. Mix it gently until you have a lovely, even green color. Pop each color into its own piping bag – I like to use star tips for the green to give it a bit of texture, but a round tip works fine too! Pipe cone shapes onto your parchment-lined baking sheets for the trees. Then, get creative with those red and green sprinkles! Gently press them onto the meringue trees while they’re still wet. It makes them look so festive!
Baking and Cooling Your Meringues
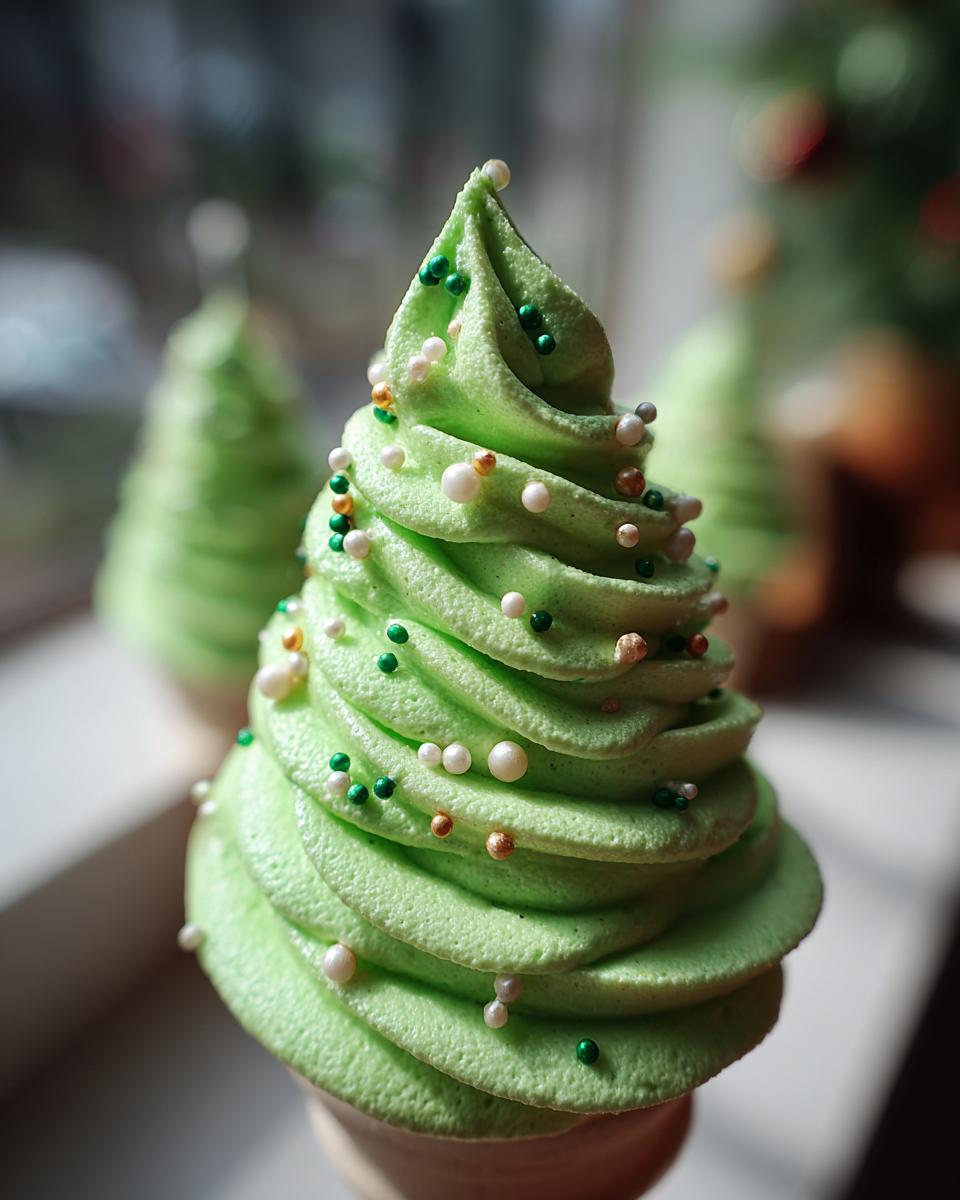
Gently place your decorated trees onto the baking sheets into your preheated oven at 200°F (95°C). These need a low and slow bake, so let them go for about 1.5 to 2 hours. You want them to be totally dry and crisp to the touch. The trick to perfectly crisp meringues? Turn off the oven once they’re done, but leave the door slightly ajar and let them cool completely inside. This prevents them from cracking or getting soggy. Don’t rush this part; patience is key here!
Tips for Perfect Christmas Tree Meringue Pops Every Time
Okay, so you’ve got the recipe, but let me give you a few little secrets from my kitchen to yours to make sure your Christmas Tree Meringue Pops turn out absolutely perfect every single time. It’s mostly about a few key things that make a huge difference! First off, humidity is the enemy of meringues. If it’s super damp or rainy outside, you might want to hold off baking these. They just puff up and dry out so much better on a clear, dry day. Also, remember what I said about cleaning your bowl and beaters really, really well? Seriously, not one speck of grease or even yolk! This is probably the most crucial step for getting those stiff, glossy peaks. If your meringues feel a little sticky when they’re done baking, just pop them back in the oven for another 15-20 minutes at that super low temp. And my personal trick for that super crisp texture? Make sure they cool *completely* in the oven with the door cracked open. It really does make them as light and airy as possible!
Ingredient Notes and Substitutions
Let’s chat about these ingredients really quick, because sometimes you might need a little tweak or just want to know *why* we’re using something. For that gorgeous green color, I really love using a gel food coloring. It gives you a super vibrant hue without adding extra liquid, which we definitely don’t want in our meringue! If you can’t find gel, a few drops of regular liquid food coloring will work, just be careful not to add too much. If you happen to be out of cream of tartar – which is a lifesaver for stabilizing egg whites – you can use about a teaspoon of white vinegar or lemon juice instead. It does a similar job in helping those whites whip up nice and fluffy, creating those perfect Christmas Tree Meringue Pops!
Storing Your Christmas Tree Meringue Pops
Okay, so you’ve just made a beautiful batch of these festive Christmas Tree Meringue Pops, and you want them to stay perfectly crisp for your holiday guests, right? The secret is all about keeping them away from moisture! Once they’re completely cool (seriously, no peeking until they’re totally done cooling in the oven!), pop them into an airtight container. A simple plastic container or a cookie tin works great. Just make sure it seals well! Keep them at room temperature, and they should stay delightfully crunchy for a good week or even two. Avoid the fridge, though – all that condensation is the enemy of a crisp meringue!
Frequently Asked Questions about Christmas Tree Meringue Pops
Got questions about these little guys? I get it! Meringues can sometimes be a bit finicky, but don’t worry, I’m here to help you out. Let’s tackle some common things people wonder about when making these festive Christmas Tree Meringue Pops.
Why are my meringues sticky or soft?
Oh, this is a classic meringue challenge! Usually, sticky or soft meringues mean they didn’t bake long enough or cool down properly. They need that low and slow bake to dry out completely. Also, humidity is a big culprit! If it’s super humid outside, meringues really struggle to get crisp. Make sure your oven temperature is accurate, and definitely let them cool completely in the oven with the door ajar. A little bit of patience goes a loooong way here!
Can I make these Christmas Tree Meringue Pops ahead of time?
Yes, absolutely! This is one of my favorite things about them. As long as you store them properly in an airtight container at room temperature, they can be made a week or even two in advance. They’re great for doing that holiday prep work early so you have one less thing to worry about closer to Christmas! They’re just as delicious then as they are fresh out of the oven.
How do I ensure my meringues are perfectly crisp?
Crisp meringues are the goal, right?! For that perfect snap, make sure you’re using dry egg whites and not overmixing after you add the sugar. Bake them at a low temperature for a good long while – don’t try to rush it! That low-and-slow method is key. And for the love of all things holly jolly, let them cool completely in the oven with the door cracked open. This is seriously the most important step for that super crisp, melt-in-your-mouth texture we’re after. Think of it as the final drying stage!
What if I don’t have cream of tartar?
No cream of tartar? No problem! It’s usually there to help stabilize the egg whites, but you can totally swap it out. About a teaspoon of white vinegar or lemon juice will do the trick. Just add it in with the egg whites after they start to get foamy. It helps stabilize them just like cream of tartar. So you can still whip up those delicious easy 3-ingredient Christmas cookies if needed!
Estimated Nutritional Information
Now, these little Christmas Tree Meringue Pops are practically pure joy and air, so they’re pretty light! On average, you’re looking at about 30 calories per pop. They’re mostly made of sugar, so expect around 7g of carbs and sugar per piece. You’ll be happy to know they’re virtually fat-free and protein-free! Keep in mind these numbers are just estimates, of course, and can change a little depending on your exact measurements and how decorated you go with the sprinkles!
Share Your Christmas Tree Meringue Pops Creations!
I seriously can’t wait for you to try making these Christmas Tree Meringue Pops! They’re so much fun. If you do whip up a batch, please, PLEASE leave a comment below and let me know how they turned out! Did you add extra sprinkles? Did your family devour them in minutes? I’d also love it if you shared a photo on social media – tag me so I can see your beautiful creations! It honestly makes my day to see you all baking these festive treats. You can even check out some other fun Christmas morning traditions for more holiday inspo!
Print
Christmas Tree Meringue Pops
- Total Time: 140 min
- Yield: 30 pops
- Diet: Vegetarian
Description
Light and airy meringue cookies shaped like Christmas trees, perfect for holiday celebrations.
Ingredients
- 4 large egg whites
- 1 cup granulated sugar
- 1/2 teaspoon cream of tartar
- 1/2 teaspoon vanilla extract
- Green food coloring
- Red and green sprinkles
Instructions
- Preheat your oven to 200°F (95°C). Line baking sheets with parchment paper.
- In a clean, dry bowl, beat egg whites with an electric mixer until foamy. Add cream of tartar and continue beating until soft peaks form.
- Gradually add granulated sugar, one tablespoon at a time, beating well after each addition until stiff, glossy peaks form. Stir in vanilla extract.
- Divide the meringue into two bowls. Leave one bowl white. Add a few drops of green food coloring to the other bowl and mix until evenly colored.
- Fill piping bags with the white and green meringue. Pipe cone shapes onto the prepared baking sheets for the trees.
- Decorate the piped meringue with sprinkles.
- Bake for 1.5 to 2 hours, or until the meringues are dry and crisp. Turn off the oven and let the meringues cool completely inside the oven with the door slightly ajar.
Notes
- Ensure your bowl and beaters are completely free of grease for best results.
- Store cooled meringues in an airtight container at room temperature.
- Prep Time: 20 min
- Cook Time: 120 min
- Category: Dessert
- Method: Baking
- Cuisine: American