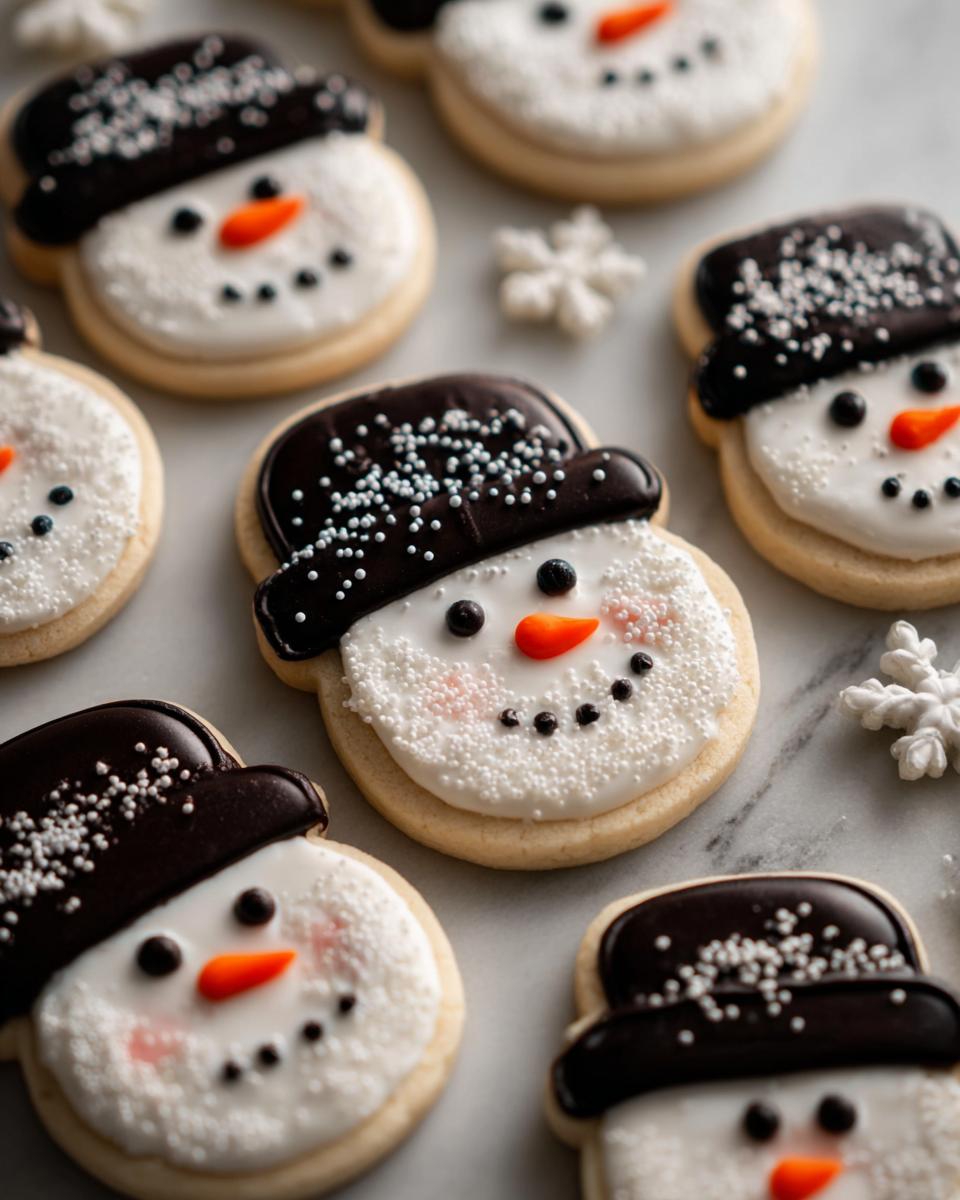
Oh, the holidays! For me, it’s always about gathering in the kitchen, the smell of baking filling the air, and creating little edible works of art that just scream ‘festive.’ I’ve been baking up a storm for what feels like forever, and let me tell you, there’s something extra special about cookies that just *look* like the holidays. That’s where these adorable Snowman Hat Cookies come in! They’re a total crowd-pleaser, surprisingly easy to whip up, and honestly, they just bring a smile to everyone’s face. If you’re looking for that perfect charming treat for your holiday table or a fun baking project, you’ve found it!
Why You’ll Love These Snowman Hat Cookies
These Snowman Hat Cookies are seriously a winner, and here’s why:
- Super Easy to Make: Honestly, even if baking isn’t your thing, you’ll breeze through this recipe.
- Festive Charm: They bake up looking just darling, adding instant holiday cheer to any plate.
- Buttery Sweetness: You get that classic, melt-in-your-mouth sugar cookie flavor that’s always a hit.
- Kid-Friendly Fun: Perfect for a cozy afternoon baking session with the little ones.
- Versatile for Any Occasion: Great for Christmas, winter parties, or just a special holiday treat.
- Quick & Easy Decorating: Assembling and decorating them is a snap, even if you’re not an artist!
Gather Your Ingredients for Snowman Hat Cookies
You’ll need these for the cookie dough:
- 1 cup unsalted butter, softened
- 1/2 cup granulated sugar
- 1 large egg
- 1 teaspoon vanilla extract
- 2 1/2 cups all-purpose flour
- 1/4 teaspoon salt
And for decorating:
- Black decorating icing
- Orange decorating icing
- White nonpareils
Essential Equipment for Making Snowman Hat Cookies
To bring these cute Snowman Hat Cookies to life, you’ll need a few things:
- Mixing bowls (one big one for dough, maybe a smaller one for dry stuff)
- Electric mixer or a sturdy whisk and some elbow grease
- Rolling pin
- A couple of round cookie cutters – one larger for the brim and a smaller one for the hat top (or even a piping tip works!)
- Baking sheets
- Parchment paper (makes cleanup a breeze!)
- Wire cooling rack
- Piping bags or small zip-top bags for your decorating icing
Step-by-Step Guide to Crafting Snowman Hat Cookies
Alright, let’s get down to business! Making these Snowman Hat Cookies is really straightforward, and honestly, it’s where the magic happens. Just follow these steps, and you’ll have a parade of adorable little hats all ready for decorating. I promise, it’s easier than it looks! For other simple holiday treats, you might love checking out these easy 3-ingredient Christmas cookies too!
Preparing the Cookie Dough for Snowman Hat Cookies
First things first, we need our cookie dough! Grab your softened butter and sugar and cream them together until it looks nice and fluffy. Then, beat in that egg and vanilla. In a separate bowl, give your flour and salt a quick whisk. Now, slowly add the dry stuff to the wet, mixing until it just comes together. Don’t overmix! The key to easy handling for these Snowman Hat Cookies is chilling the dough, so divide it into two flat discs, wrap them up, and pop them in the fridge for at least 30 minutes. Trust me, this makes rolling out so much better!
Shaping and Baking Your Snowman Hat Cookies
Once the dough is chilled and firm, preheat your oven to 350°F (175°C). Line a couple of baking sheets with parchment paper – it’s a lifesaver for cleanup! On a lightly floured surface, roll out one disc of dough to about a quarter-inch thick. Now, use your larger round cutter for the hat brim. Then, grab a smaller round cutter (or even a piping tip from your decorating set!) and cut a smaller circle right out of the middle of each brim. This makes the hole for the hat’s band. Roll out the other dough disc and cut out smaller circles – these are the tops of your hats! Place everything onto your prepared baking sheets, leaving a little space between them. Bake for about 8 to 10 minutes, or until the edges are just lightly golden. Let them cool on the sheets for a few minutes before carefully moving them to a wire rack to cool completely. We want them totally cool before we start decorating our Snowman Hat Cookies!

Decorating Your Festive Snowman Hat Cookies
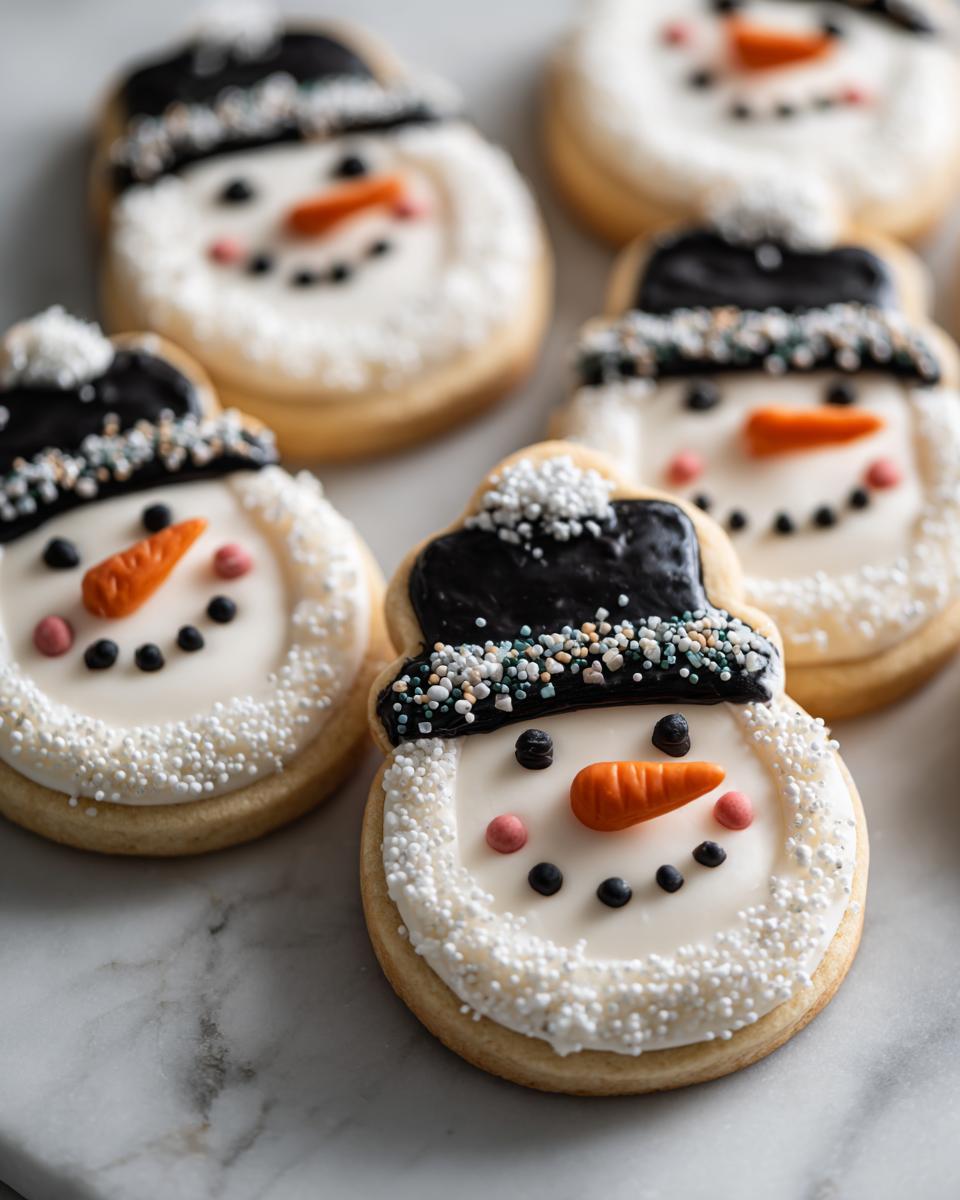
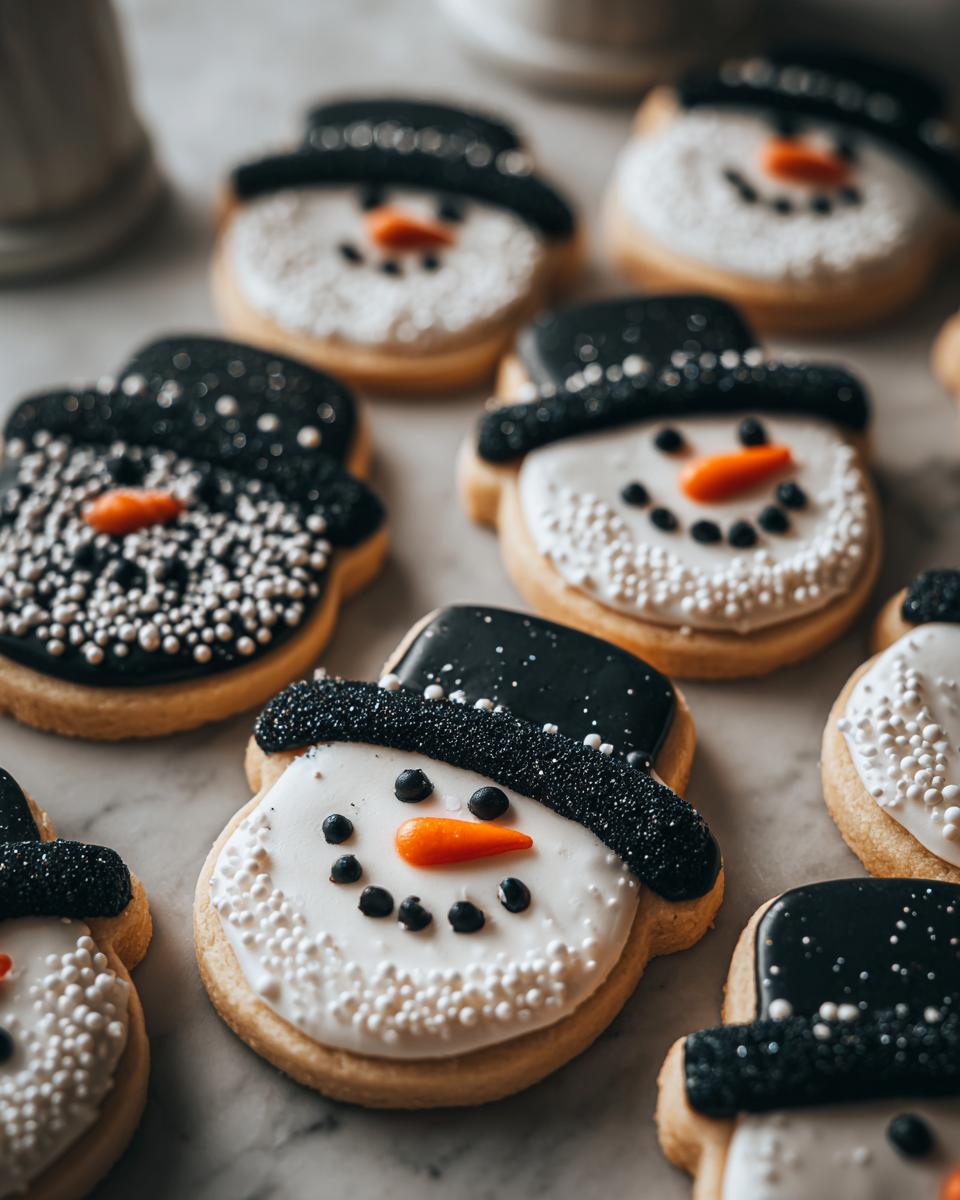
This is the super fun part where your Snowman Hat Cookies really come to life! Once your cookies are completely cool, assemble the hats by placing the smaller top circles onto the bigger brim circles. Now, grab your black decorating icing. Pipe around the edges of the hat and fill in any gaps. This gives it that nice, clean hat shape. Next, use your orange decorating icing to pipe a little carrot nose onto each hat. So cute! For that extra snowy touch, sprinkle some white nonpareils all over. They look like a dusting of fresh snow! If you want to get fancy, maybe check out some fun crafty ideas for inspiration on other decorations you could add! Let all that icing set completely before you try to stack or move them too much.
Tips for Perfect Snowman Hat Cookies Every Time
Okay, so you want your Snowman Hat Cookies to be absolutely perfect, right? I’ve picked up a few tricks over the years to make sure they come out looking fantastic, every single time. Don’t worry if your dough gets a little soft – it happens! Just pop it back in the fridge for a bit. And when you’re cutting out those circles, make sure your cutters are nice and sharp so you get clean edges. For the icing, a little goes a long way, and patience is key! Letting things cool completely before decorating is super important so you don’t end up with a melty mess on your cute Snowman Hat Cookies!
Ingredient Notes and Substitutions for Snowman Hat Cookies
When you’re whipping up these delightful Snowman Hat Cookies, the ingredients really do make a difference! Starting with properly softened butter is key – it should be soft enough to indent with your finger but not melted. This helps create that lovely, tender cookie texture. If you find your butter got too soft, just pop it in the fridge for like, 5 minutes. If you don’t have unsalted butter, you can use salted, but just leave out that extra 1/4 teaspoon of salt. For the vanilla extract, use the real stuff if you can; it has so much more flavor than imitation! And for the decorating icing, you can buy pre-made tubes, or if you’re feeling adventurous, just mix a little powdered sugar with a tiny bit of water or milk until it’s pipeable. It really makes these Snowman Hat Cookies shine!
Frequently Asked Questions About Snowman Hat Cookies
Got questions about these cute little hats? I’ve got answers!
Can I use store-bought cookie dough for these Snowman Hat Cookies?
Oh, you totally could! If you’re really in a pinch for time, a good quality sugar cookie dough from the store will work. You’ll just need to roll it out and cut your shapes as directed. It won’t have that homemade flavor quite the same, but it’s a great shortcut for sure!
How do I store these Snowman Hat Cookies so they stay fresh?
Once the icing is completely dry, you can store them in an airtight container. I like to put a piece of parchment paper between layers if I’m stacking them, just to make sure the icing doesn’t stick. They’ll keep nicely at room temperature for about 3-5 days. They’re usually gone way before that, though!
My cookie dough is too sticky to roll out! What did I do wrong?
This can happen, especially if your kitchen is warm! If the dough feels too sticky, don’t panic. Just wrap it back up and pop it into the fridge for another 15-20 minutes. That chill time is your best friend for easy rolling and cutting. You can also try adding just a tiny bit more flour, like a teaspoon at a time, to your rolling surface.
Can I make these Snowman Hat Cookies ahead of time for a party?
Absolutely! You can bake the cookies a day or two ahead of time and let them cool completely. Then, you can decorate them the day before your event. The icing will set up nicely, and they’ll be ready to go. It’s actually a great way to spread out your holiday baking workload!
What other ways can I decorate these hat cookies?
The possibilities are endless! Besides the classic carrot nose and snowy nonpareils, you could pipe a band around the bottom of the hat top, add some edible glitter for sparkle, or even use different colored icing for a fun twist. Some people even use tiny sprinkles for little buttons or details. For more holiday inspiration, you might enjoy reading about Christmas morning traditions!
Storage and Reheating Instructions
Once your adorable Snowman Hat Cookies are all decorated and that icing has dried completely – seriously, let it dry! – you’ll want to store them to keep them perfectly fresh. I always just pop mine into an airtight container. You can leave them at room temperature for about 3-5 days. If you’re stacking them, I like to put a little sheet of parchment paper between the layers so nothing sticks together. These Snowman Hat Cookies are usually gobbled up way before they have a chance to go stale, but it’s good to know!
Estimated Nutritional Information
These Snowman Hat Cookies are estimated to have about 150 calories per cookie. You’ll find roughly 8g of fat (5g saturated), 18g of carbohydrates with about 1g of fiber, and 2g of protein. They also contain approximately 10g of sugar and 30mg of sodium. Remember, these numbers are just a general guide, and can be a little different depending on exactly what you use! For more sweet treats, check out the Dessert section.
Print
Snowman Hat Cookies
- Total Time: 40 min
- Yield: 24 cookies
- Diet: Vegetarian
Description
Simple and festive cookies shaped like snowman hats, perfect for holiday baking.
Ingredients
- 1 cup unsalted butter, softened
- 1/2 cup granulated sugar
- 1 large egg
- 1 teaspoon vanilla extract
- 2 1/2 cups all-purpose flour
- 1/4 teaspoon salt
- Black decorating icing
- Orange decorating icing
- White nonpareils
Instructions
- Cream together the softened butter and granulated sugar until light and fluffy.
- Beat in the egg and vanilla extract until well combined.
- In a separate bowl, whisk together the flour and salt.
- Gradually add the dry ingredients to the wet ingredients, mixing until just combined.
- Divide the dough in half, flatten each half into a disc, wrap in plastic wrap, and chill for at least 30 minutes.
- Preheat your oven to 350°F (175°C). Line baking sheets with parchment paper.
- On a lightly floured surface, roll out one disc of dough to about 1/4-inch thickness.
- Use a round cookie cutter to cut out circles for the brim of the hat.
- Use a smaller round cookie cutter or a piping tip to cut out a smaller circle from the center of each brim circle, creating a hole.
- Roll out the second disc of dough and cut out smaller circles for the top of the hat.
- Place the hat tops onto the prepared baking sheets, spacing them apart.
- Bake for 8-10 minutes, or until the edges are lightly golden. Let cool on the baking sheets for a few minutes before transferring to a wire rack to cool completely.
- Once cooled, assemble the hats by placing the hat tops onto the brim circles.
- Use black decorating icing to outline the hat and fill in any gaps.
- Use orange decorating icing to pipe a small carrot nose onto each hat.
- Decorate the hats with white nonpareils for a snowy effect.
- Allow the icing to set completely before serving.
Notes
- You can use different sized round cutters to create various hat styles.
- For a smoother finish, you can use fondant instead of icing.
- Store cooled cookies in an airtight container at room temperature.
- Prep Time: 30 min
- Cook Time: 10 min
- Category: Dessert
- Method: Baking
- Cuisine: American